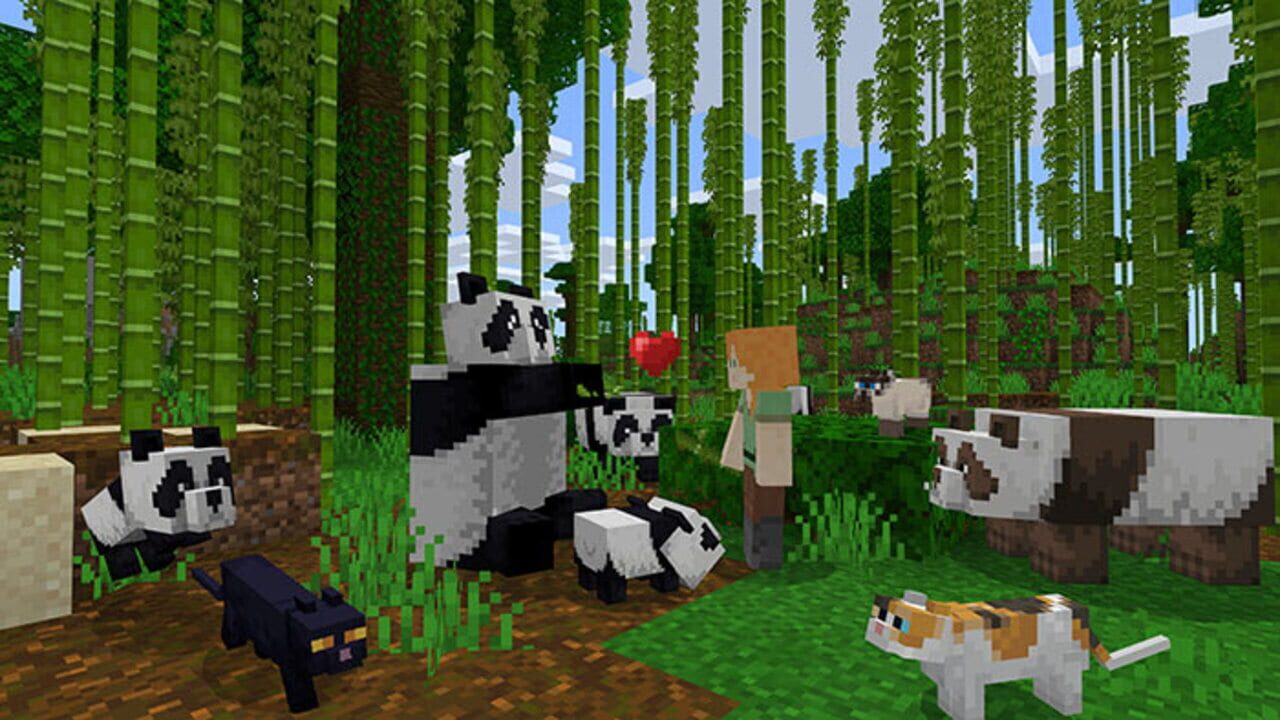
Minecraft is the best-selling video game of all time, developed by Mojang Studios and published by Microsoft. Released in 2011 after a long beta, it offers both survival and creative modes in a procedurally generated block world. The game is available on virtually every platform: PC, PlayStation, Xbox, Nintendo Switch, iOS, and Android.
Game Modes
Survival Mode
The core Minecraft experience. You spawn in a random world with no items, must gather resources, build shelter, and survive against hostile mobs that spawn at night. Your health and hunger bars require management, and dying sends you back to your spawn point (losing some items).
Creative Mode
Unlimited resources, flight, and no health/hunger. Perfect for building and experimenting. You can access this through cheats or by creating a new world with Creative enabled.
Adventure Mode
For custom maps and servers. Players can interact with the world but cannot break or place blocks without the right tools.
Hardcore Mode
Survival with permanent death. If you die, the world is deleted (or set to spectator mode). No respawns, no second chances.
Day One: The Survival Checklist
When you first spawn, you have nothing. Here’s exactly what to do in your first 10 minutes:
1. Punch Trees
Walk up to any tree and hold left-click to break log blocks. You need at least 4 logs to start.
2. Craft a Crafting Table
Open your inventory (E), place 4 logs in the 2x2 grid to get a Crafting Table. Place the Crafting Table on the ground.
3. Make Wooden Tools
Using the Crafting Table:
- Wooden Pickaxe (3 planks + 2 sticks) — Mine stone
- Wooden Axe (3 planks + 2 sticks) — Chop wood faster
- Wooden Sword (2 planks + 1 stick) — Defend yourself
4. Mine Stone
Use your Wooden Pickaxe on stone blocks (gray blocks underground). You’ll get Cobblestone.
5. Upgrade to Stone Tools
Craft Stone versions of your tools (same recipe, replace planks with cobblestone). Stone tools last longer and mine faster.
6. Build a Shelter
Before nightfall (10 minutes after sunrise), build a small enclosed shelter. At minimum: 4 walls, a roof, and a door. Mobs spawn in darkness and will attack you.
7. Find Food
Kill animals (sheep, cows, pigs, chickens) for raw meat. Cook it in a furnace for better food. Raw food restores less hunger.
8. Set Your Spawn
Craft a Bed (3 wool + 3 planks) and sleep at night. This sets your spawn point and skips the night.
Essential Resources
Early Game (First Week)
- Wood — Logs for crafting everything. Chop trees constantly.
- Stone/Cobblestone — Better tools and building material.
- Iron — Found at Y-level 16 and below. Essential for armor, tools, and redstone.
- Food — Cooked meat, bread, or golden carrots for hunger management.
- Coal — Found near surface. Used for torches and smelting.
Mid Game
- Diamonds — Found at Y-level -59 (the deepest level). Best armor and tools before Netherite.
- Redstone — Found deep underground. Powers automation, doors, traps, and more.
- Lapis Lazuli — Found at Y-level 0. Required for enchanting.
- Gold — Found in the Nether and in the Deepslate layers.
Late Game
- Netherite — Upgrade diamond gear using Netherite Ingots (found in the Nether).
- Elytra — Found in End Ships. Allows gliding/flying.
- Beacons — Require Nether Stars (from Wither boss). Provide area-of-effect buffs.
Mining Strategies
Strip Mining (Most Efficient for Diamonds)
Dig a long tunnel at Y=-59 (the optimal level for diamonds in 1.18+). Place torches every 8 blocks. Branch off every 2-3 blocks. This exposes the most blocks per minute.
Cave Exploration
Explore natural caves for iron, coal, and early-game resources. Bring plenty of torches and food. Mark your entrance with torches so you don’t get lost.
Branch Mining
Dig a main tunnel, then branch off perpendicular tunnels every 2-3 blocks. Good for finding iron and coal in the early game.
Important: Never Dig Straight Down
You’ll fall into lava or a deep cave. Always staircase down or dig a 2-wide shaft.
Enchanting
Enchanting improves your gear with special abilities. Here’s how to set it up:
Enchanting Table
- Craft with 4 Obsidian, 2 Diamonds, and 1 Book
- Place 15 Bookshelves around it (1 block away, in a U-shape)
- The bookshelves boost the enchantment level available
How to Enchant
- Place the item in the enchanting table
- Spend LXP (earned from mining, killing mobs, smelting)
- Choose an enchantment (higher levels cost more LXP)
- Enchantments are randomized based on your available levels
Key Enchantments
- Fortune (Pickaxe) — Increases ore drops
- Silk Touch (Pickaxe) — Mine blocks as-is (e.g., grass, glass)
- Sharpness (Sword) — Increases melee damage
- Protection (Armor) — Reduces all damage
- Efficiency (Tools) — Mines/breaks faster
- Unbreaking (All gear) — Increases durability
Pro Tips
- Use a Grindstone to remove enchantments and recover some LXP.
- Use an Anvil to combine enchanted books with gear.
- Lapis Lazuli is required for every enchantment.
The Nether
The Nether is a hellish dimension accessible through a Nether Portal (built from Obsidian ignited with flint and steel). It’s dangerous but essential for progression.
Getting There
- Mine Obsidian (requires Diamond Pickaxe) or create a portal with water + lava
- Build a 4x5 frame (10 Obsidian minimum)
- Ignite with Flint and Steel
Nether Hazards
- Lava — Everywhere. Don’t fall in.
- Ghasts — Flying mobs that shoot explosive fireballs.
- Blazes — Fire mobs in Nether Fortresses. Drop Blaze Rods (required for brewing and Eyes of Ender).
- Piglins — Neutral unless you mine gold near them or don’t wear gold armor.
Nether Resources
- Nether Quartz — For Redstone comparators and observers
- Blaze Rods — From Blazes. Essential for brewing and reaching The End.
- Ancient Debris — Found at Y=15 in the Nether. Smelt into Netherite Scrap.
- Nether Wart — Found in Nether Fortresses. Base for all potions.
The End
The End is the final dimension, home to the Ender Dragon. Beating it is considered Minecraft’s “ending.”
Finding the End
- Find a Stronghold (use Eyes of Ender to locate it)
- Fill the End Portal frame with Eyes of Ender (12 total)
- Activate the portal and jump in
Ender Dragon Fight
- Destroy the End Crystals on top of obsidian pillars first
- Use a bow to shoot crystals or pillar up and destroy them manually
- Once all crystals are destroyed, the dragon becomes vulnerable
- Hit the dragon with a sword when it perches on the center portal
- Bring plenty of food and armor
After the Dragon
- Elytra (wings) can be found in End Ships
- Shulker Boxes for portable storage
- The End is a great source of building blocks (End Stone)
Multiplayer
Servers
Join public servers for minigames, survival multiplayer, and community. Popular servers include:
- Hypixel — Minigames and bedwars
- 2b2t — Anarchy server
- Hermitcraft-style — Survival multiplayer
Realms
Private servers hosted by Microsoft. Play with up to 10 friends. Requires a subscription.
LAN Play
Play with friends on the same network. Host a world and others can join via local IP.
Co-op
Team up for builds, adventures, and mob farms. Communication is key.
Redstone Basics
Redstone is Minecraft’s electrical system for automation:
- Redstone Dust — Wire that carries signal
- Redstone Torch — Power source
- Repeater — Extends signal strength
- Comparator — Reads container fullness
- Piston — Pushes/pulls blocks
- Hopper — Transfers items between containers
Starter Builds
- Auto Smelter — Furnace + Hopper chain for automatic smelting
- Simple Door — Pressure plate + Redstone + door
- Automatic Farm — Water + piston harvest for crops
Common Mistakes to Avoid
- Digging Straight Down — You’ll hit lava or fall into a cave.
- Not Lighting Areas — Hostile mobs spawn in darkness (light level 0). Place torches generously.
- Ignoring Hunger — Keep your hunger bar above 5 hearts. Sprinting and regenerating require food.
- Not Backing Up Worlds — Creative mode can help recover, but backing up is safer.
- Hoarding Everything — Sort your chest system early. It saves hours later.
- Skipping the Bed — Set your spawn point immediately. Walking back from a random spawn is frustrating.
Final Tips
Plan your god gear with the Minecraft Enchanting Planner — weights, XP costs and conflicts before you spend lapis.
- Set Goals — Whether it’s building a castle, beating the Ender Dragon, or creating an automatic farm, having goals keeps you engaged.
- Back Up Your Worlds — Copy your world folder regularly. Corruption happens.
- Explore Different Biomes — Each biome has unique resources and challenges.
- Join a Server — Multiplayer makes the game exponentially more fun.
- Be Creative — There’s no “right” way to play Minecraft. Experiment and enjoy.
Discussion
0 commentsNo comments yet. Be the first!