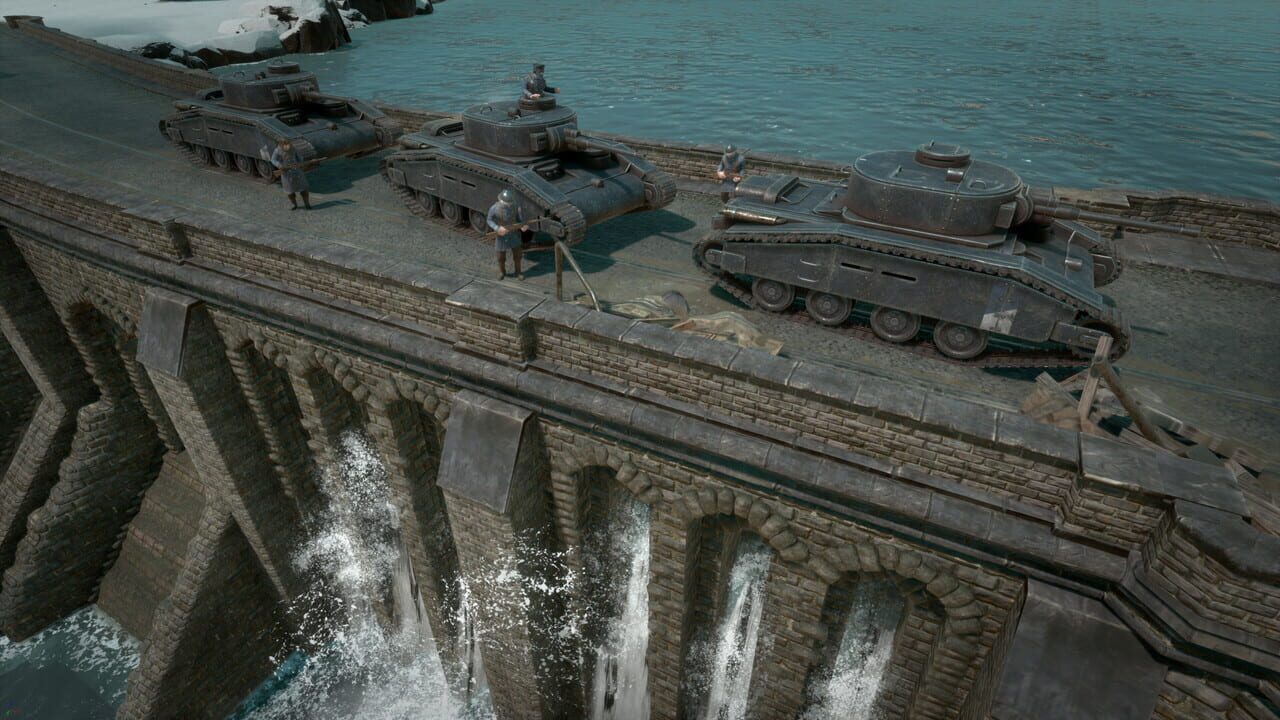
Artillery is Foxhole’s ultimate force multiplier. A well-coordinated artillery battery can destroy a fortified bunker base in minutes. A poorly-coordinated one wastes hundreds of shells and achieves nothing. This guide covers how to use artillery effectively and how to survive it.
Note: Verified as of July 2026. Check official patch notes for updates.
Artillery Crew Roles
A minimum artillery crew is 3 people. 5+ is ideal.
| Role | Count | Responsibility |
|---|---|---|
| Gunner | 1 per gun | Loads and fires the gun |
| Spotter | 1 | Binoculars, calls out targets and corrections |
| Loader | 1-2 | Moves shells from pallet to gun |
| Logi | 1 | Brings more shells from the backline |
| Security | 2+ | Protects the gun from partisans |
How to Aim Artillery
Artillery uses an azimuth (compass bearing, 0-360°) and distance (metres) system. The spotter calculates these values and calls them to the gunner.
Spotting workflow:
- Spotter finds a target using binoculars
- Spotter calculates azimuth and distance from the gun to the target (use the map grid or a third-party artillery calculator)
- Spotter calls “Azimuth 045, Distance 150 metres, Fire for Effect”
- Gunner adjusts the gun using mouse wheel (azimuth) and the distance dial
- Gunner fires. Spotter watches the shell impact.
- Spotter calls corrections: “Add 20 metres, left 5 degrees”
- Repeat until shells land on target, then call “Fire for Effect — 10 rounds”
Critical: The spotter must have direct line of sight to the target. Binoculars extend view range. The spotter is the most important person in the artillery team — a bad spotter wastes every shell.
Artillery Types
| Gun | Calibre | Range | Damage | Best Use |
|---|---|---|---|---|
| Field Artillery | 120mm | 150-300m | Medium | General purpose |
| Field Mortar | 80mm | 80-180m | Low | Infantry support |
| Heavy Artillery | 150mm | 200-350m | High | Bunker destruction |
| Storm Cannon | 300mm | 400-1,000m | Extreme | Strategic targets (requires power, facility) |
| Rocket Artillery | — | 150-250m | Medium (AoE) | Suppression, area denial |
Shell Types
| Shell | Effect | Best Against |
|---|---|---|
| HE (High Explosive) | Splash damage, destroys structures | Bunkers, trenches, infantry groups |
| Shrapnel | Infantry-only damage, larger radius | Infantry formations. Does nothing to structures. |
| Smoke | Obscures vision | Covering advances, retreats |
| Flare | Illuminates area at night | Night operations |
Counter-Battery: Destroying Enemy Artillery
When enemy artillery fires, you can locate them:
- Watch for shell tracers (the arc of the shell in flight). Trace it back to the source.
- Use a spotter in a high position to look for muzzle flashes.
- Deploy your own artillery (or a Howitzer Garrison) to fire on the enemy gun’s position.
Howitzer Garrisons automate counter-battery. They detect incoming artillery shells and fire back at the originating position. Build these on every front-line bunker.
Surviving Artillery as Infantry
- Move immediately. The first shell tells the enemy where you are. They will fire more. Do not stay in the same position.
- Get inside. Bunkers and garrison houses (Town Halls, Safe Houses) provide overhead cover. Shells hit the roof instead of you.
- Lie down. Prone infantry take less splash damage.
- Spread out. Artillery punishes clustering. Stay 10+ metres apart.
- Push toward the guns. The safest place from artillery is under the artillery — the guns cannot depress enough to hit targets directly in front of them.
Summary
Artillery needs a spotter with binoculars. Use HE for structures, shrapnel for infantry. Build Howitzer Garrisons for automated counter-battery. When under fire: move immediately, get inside, lie down, spread out. A well-supplied artillery battery can break any defence — but only with good spotting.
Discussion
0 commentsNo comments yet. Be the first!