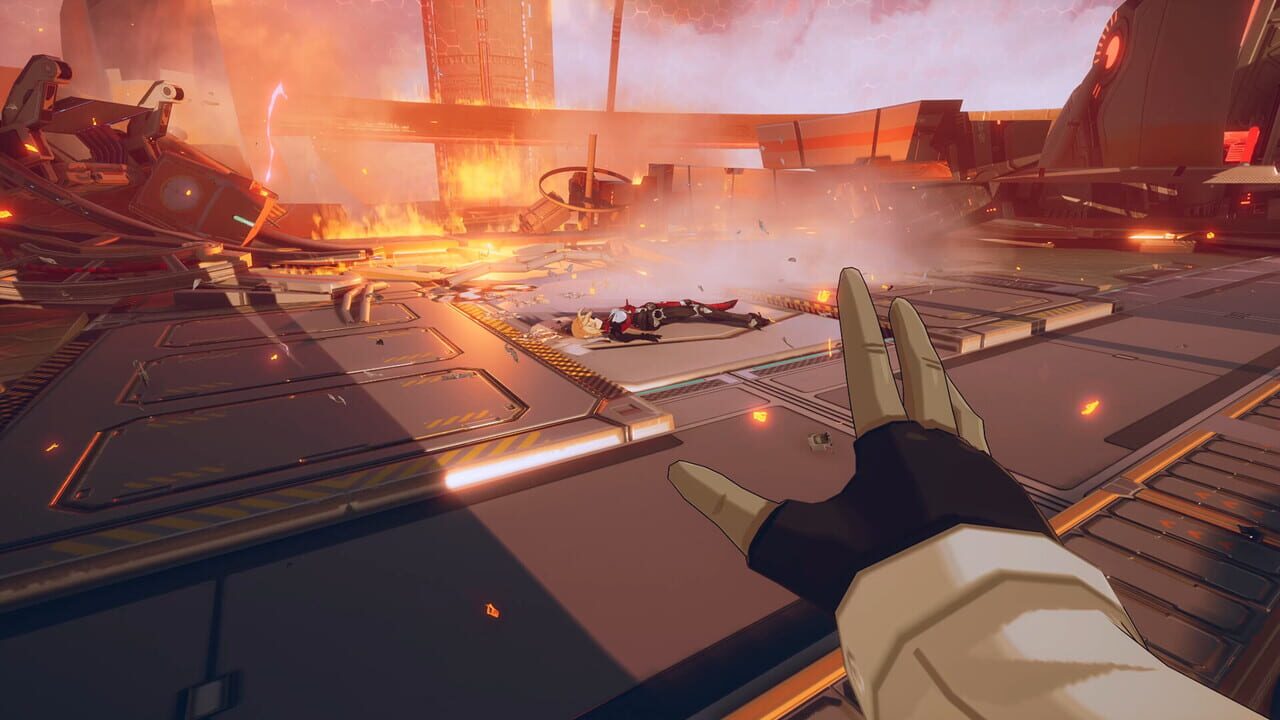
Joint Operations are the primary group content in Tower of Fantasy. They are 4-player instanced dungeons that reward equipment, matrices, and upgrade materials. Higher difficulties drop better gear but require coordination.
Note: Verified as of July 2026. Check official patch notes for updates.
Joint Operation Difficulty Tiers
| Difficulty | Level Req | CS Req | Key Rewards |
|---|---|---|---|
| Easy | 20 | 5,000 | Blue/Purple gear |
| Normal | 35 | 12,000 | Purple gear, standard matrices |
| Hard | 50 | 25,000 | Gold gear, SSR matrices |
| End Game | 70 | 45,000 | Gold gear, SSR matrices, upgrade modules |
| End Game 2 | 80 | 65,000 | Top-tier gold gear, SSR matrix shards |
| Challenge | 90 | 80,000 | Exclusive equipment, rare matrix selectors |
Energy and Vitality Management
Each Joint Operation run costs 30 Vitality (90 Vitality on triple reward). You get 180 Vitality per day.
Best Vitality spending priority:
- Joint Operations (until you have full gold gear with decent substats)
- Dimensional Trials (weapon batteries for your main DPS)
- Interstellar Exploration (enhancement materials)
Do not spend Vitality on low-difficulty Joint Operations. Push your Combat Score (CS) to unlock Hard difficulty as fast as possible. Purple gear is temporary — only gold gear matters long-term.
Best Team Composition
A balanced Joint Operations team needs:
- 1 Tank (Fortitude Resonance) — Holds boss aggro, soaks damage. Weapons: Meryl, Saki Fuwa, or any tank-resonance weapon.
- 1 Healer (Benediction Resonance) — Keeps the team alive through mechanics. Weapons: Fiona, Cocoritter, Brevey.
- 2 DPS (Attack Resonance) — The damage dealers. Any current meta DPS weapons.
If your team is over-geared for the difficulty, you can drop the tank for a third DPS. Do not drop the healer unless you are confident the boss cannot one-shot anyone.
Boss Mechanics Overview
Every Joint Operation boss cycles through attack patterns. Learn these to avoid unnecessary deaths:
- Frigg (Deepsea Stronghold) — Ice cage mechanic that traps one player. Allies must break the cage by dealing damage to it. High frost resistance helps.
- Valkyrie (Spacetime Training Ground) — Summons clones that must be killed quickly. Boss reflects damage during certain phases.
- Rudolph (Hyena Arena) — Heavy AoE damage. The tank must face the boss away from the party. Healer needs to time Alternate Destiny for laser attacks.
- Nemesis (End Game difficulty) — Phase 2 summons adds that swarm the healer. DPS must peel immediately.
Matchmaking vs Premade
Matchmaking is fine for Normal and Hard difficulties. For End Game and above:
- Always run premade. Random teammates may not understand mechanics or have sufficient CS.
- Use Crew chat or the Recruitment channel to find groups.
- Voice chat (Discord) helps coordinate relics and burst windows.
Rewards and Optimisation
Gold gear from End Game difficulty and above has random substats. Prioritise:
| Slot | Preferred Substats |
|---|---|
| Gloves | Crit Rate, Crit Damage, ATK% |
| Boots | Crit Rate, ATK% |
| Shoulder/Bracer | ATK%, Elemental ATK% |
| Helmet/Belt | HP%, Resistance (varies by boss) |
Use Advancement Modules to enhance gear. Only invest modules in gear with at least two desirable substats.
Salvage unwanted gear for materials. Higher-difficulty gear gives more salvage value.
Summary
Push your CS to unlock Hard and End Game Joint Operations as fast as possible. Always run with a balanced team (tank, healer, 2 DPS). Learn boss mechanics to avoid wasting Vitality on failed runs. Prioritise gear with Crit Rate and ATK% substats.
Discussion
0 commentsNo comments yet. Be the first!