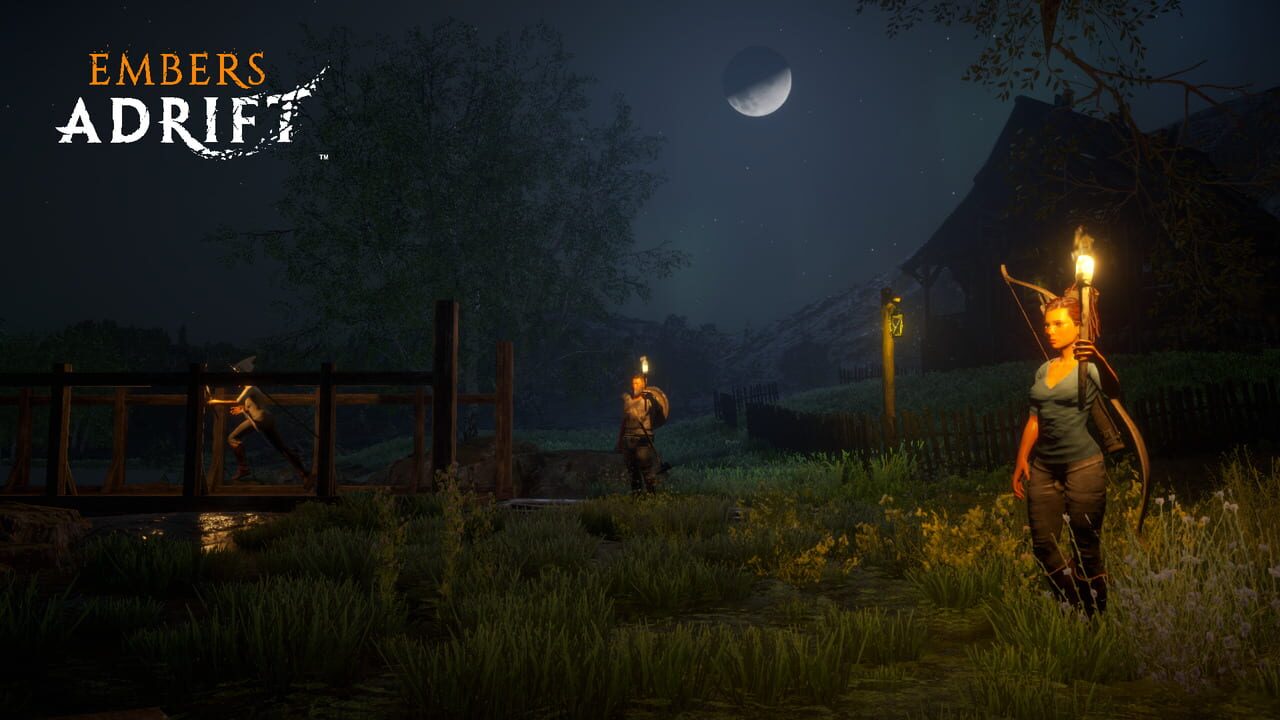
Embers Adrift is an open-world survival-crafting game that throws you into vast, explorable environments where gathering resources is central to progression. Without the hand-holding of an automated map or quest marker system, players must learn landmarks by sight and build their own mental maps. This makes knowing exactly where to find alchemy reagents in high-level zones like Grimstone Canyon a serious advantage.
This guide covers the verified locations for the two primary T2 alchemy reagents in the canyon, a suggested farming route, and practical tips to maximize your gather efficiency. Everything here is checked against known game data as of July 2026.
About Embers Adrift
Embers Adrift is a group-centric PvE MMO developed by Stormhaven Studios. Players gather resources, craft tools and weapons, brew potions, and explore diverse biomes filled with hostile creatures alongside other players. The game features a day-night cycle, weather systems, and a skill-based progression model. Key gameplay pillars include resource gathering, crafting, alchemy, combat against wildlife and environmental hazards, and exploration — all within a cooperative multiplayer framework. The game does not feature PvP or a player-driven trading economy. All content described below applies to the co-op PvE experience.
Understanding the Grimstone Canyon Zone
Grimstone Canyon is one of the more dangerous mid-to-late game zones in Embers Adrift. It sits between the Dry Flats (the starting region) and the higher-elevation volcanic biomes to the south. The canyon is characterized by steep slot-canyon walls, wide open desert floors, metallic ore deposits visible on the surface, and scattered ancient ruins.
The zone is divided into three rough areas:
| Area | Description | Threat Level |
|---|---|---|
| Northern Approach | Flat desert terrain leading into the canyon from the Dry Flats gate | Low (Level 10-18 mobs) |
| Central Canyon | Wide basin with the Red Monolith landmark, scattered metal rocks, and shallow canyons | Medium (Level 22-30 mobs) |
| Southern Slot Canyons | Narrow rock corridors with shadowed walls and deeper crevices | High (Level 28-38 mobs) |
Alchemy reagents in this zone are concentrated in the Central and Southern areas. The Northern Approach has almost no alchemy nodes, so you should move through it quickly.
Reagent 1: Ironbloom (Orange Flower)
Ironbloom is the orange-flowered alchemy plant used as the primary ingredient in T2 defensive and restorative potions. It has a very specific spawning condition that makes it somewhat rare compared to other reagents.
Where to Find It
Ironbloom spawns only on or directly adjacent to the rust-colored metallic rocks found in the Central Canyon area. The visual cue is unmistakable once you know what to look for: the flowers grow in small clusters of 2-5 per node, and the rocks they attach to have a distinct orange-brown metallic sheen that catches sunlight.
The highest concentration of Ironbloom nodes is around the base of the Red Monolith, the large glowing stone structure that serves as the central landmark of Grimstone Canyon. The Monolith is visible from nearly every point in the Central Canyon, making it the easiest reference point to navigate toward.
Spawn Conditions
- Grows only on rust-colored metallic rock surfaces
- Requires direct sunlight (no shade spawn)
- Each node produces 1-3 Ironbloom per harvest
- Nodes respawn approximately every 48 in-game hours
Safety Considerations
The area around the Red Monolith is patrolled by Stone Golems (Level 28-30). These are slow-moving but high-health enemies that deal heavy melee damage. They have limited aggro range, so you can often gather Ironbloom by approaching from behind and retreating if alerted. A ranged weapon or bow is effective here. Alternatively, you can wait until night when Golems become less aggressive and move more slowly.
Tip: Ironbloom also spawns on the eastern ridge rocks near the canyon wall. This secondary cluster has fewer Golems but requires a short climb to reach.
Reagent 2: Canyon Moss (Green Patch)
Canyon Moss is a dark green, fuzzy plant that clings to rock faces. It is the secondary ingredient required for T2 alchemy recipes, particularly poison-resistant and stamina-restoring potions.
Where to Find It
Canyon Moss spawns exclusively on the shadowed vertical walls of the Southern Slot Canyons. It will not grow on flat ground or on sunlit rock faces. The moss appears as dense green patches covering sections of canyon wall, usually 1-2 meters wide.
The best farming area for Canyon Moss is the narrow canyon corridor approximately 200 meters south of the Red Monolith base. The walls here are steep and heavily shaded, creating ideal growing conditions. Multiple moss clusters line both the left and right walls along a stretch of about 80 meters.
Spawn Conditions
- Grows only on shaded vertical rock surfaces
- Never spawns on flat ground
- Each node produces 1-2 Canyon Moss per harvest
- Nodes respawn approximately every 48 in-game hours
Safety Considerations
The Southern Slot Canyons are home to Giant Scorpions (Level 26-35). These enemies have stealth detection, meaning they can spot you even if you are crouched or using a stealth ability. Their poison sting deals significant damage over time. To counter this:
- Bring Anti-Toxin Potions (T1 craftable)
- Attack from range with a bow
- Use the narrow canyon walls to funnel scorpions into single-file engagements
- Night farming reduces scorpion aggression slightly
Verified Farming Route
Follow this route to efficiently gather both Ironbloom and Canyon Moss in a single trip. The route takes approximately 15-20 minutes of real-time play at a normal pace.
| Step | Direction | What to Do | Expected Yields |
|---|---|---|---|
| 1 | Start at Dry Flats gate | Enter Grimstone Canyon from the north | — |
| 2 | Head south on main path | Ignore reagents in the northern approach; push through to Central Canyon | — |
| 3 | Locate Red Monolith | Circle the Monolith base clockwise, checking all rust-colored rocks for Ironbloom | 6-12 Ironbloom |
| 4 | Continue south | Follow the canyon floor toward the Southern Slot Canyons | — |
| 5 | Check shadowed walls | Scan left and right canyon walls for green moss patches | 8-16 Canyon Moss |
| 6 | Return via eastern ridge | Cut across the eastern ridge (fewer mobs) back to the main path | Optional Ironbloom on ridge rocks |
Route Notes
- The return path via the eastern ridge is recommended over retracing your steps because it may yield additional Ironbloom nodes on the ridge rocks and avoids re-engaging hostile mobs you already passed.
- If you are low on health or supplies, do not attempt the Southern Slot Canyons. Prioritize the Ironbloom at the Red Monolith and return to safety.
- Day 1 and Day 2 after a node reset will have the highest yield per visit. By Day 3, many nodes will have been harvested by other players (in shared world sessions) or will have respawned at lower density.
Essential Tools and Preparations
Before heading into Grimstone Canyon, make sure you have the following:
Tools
- Advanced Alchemy Sickle — Required for T2 reagent nodes. A basic sickle has a 20% failure chance on T2 nodes, which wastes the harvest. Craft or purchase the Advanced version before entering the canyon.
- Ranged Weapon (Bow/Crossbow) — Highly recommended for Stone Golems and Giant Scorpions. Melee combat in the narrow canyons is risky due to limited escape routes.
- Stealth Gear — The Camouflage Cloak (crafted from Wolf Pelt + Spider Silk) reduces mob detection range by 30%, making both Golems and Scorpions easier to avoid.
Consumables
- Anti-Toxin Potion (T1) — Counters Giant Scorpion poison. Craft at any basic alchemy station using Web根 + Cave Herb.
- Health Potion (T1) — Standard healing. Bring at least 3 for the canyon run.
- ** Stamina Elixir (T1)** — Useful for climbing the eastern ridge on the return path.
Inventory Tips
- The Advanced Alchemy Sickle takes up one inventory slot. Pack light otherwise.
- Ironbloom and Canyon Moss each stack to 99 in your inventory. If you plan to farm repeatedly, bring empty stacks or a second bag.
- Do not waste inventory space on food or water unless you expect to be in the canyon for an extended session. The Dry Flats vendor sells basic rations at a reasonable price if you need a quick buy before entering.
Vendor and Crafting Notes
The main city vendor in the Dry Flats sells the Advanced Alchemy Sickle for 150 copper. It is the only place to purchase it new. After that, you can craft additional sickles at any alchemy workbench using 3 Copper Ingots + 1 Ironbloom (the Ironbloom acts as a material requirement for the upgrade, not as a reagent).
You cannot sell Ironbloom or Canyon Moss to vendors for a significant profit. The Dry Flats buyer offers 5 copper per stack, which is below the cost of the sickle upgrade material. These reagents are intended for personal alchemy use only.
Common Mistakes to Avoid
-
Using a basic sickle on T2 nodes — The 20% failure rate means you will waste roughly 1 in 5 harvests. Always upgrade to the Advanced Sickle first.
-
Checking sunlit walls for Canyon Moss — Moss only grows in shade. Scanning bright rock faces wastes time. Look for dark, shadowed crevices and vertical wall sections.
-
Approaching Stone Golems from the front — Golems have a wide frontal attack cone. Circle to their blind spot (behind them) before engaging or gathering nearby.
-
Farming at noon in the Southern Slot Canyons — Giant Scorpions are most aggressive during midday. Early morning or late evening spawns are noticeably calmer.
-
Ignoring the eastern ridge on return — The ridge has a secondary cluster of Ironbloom nodes that many players skip. It is a free bonus if you take the detour.
How Node Respawn Works
Alchemy reagent nodes in Embers Adrift follow a fixed respawn timer tied to the in-game day cycle. Each node resets approximately 48 in-game hours after being harvested. Since the game has a 24-hour day cycle, this means nodes respawn roughly every 2 full days.
You can track node freshness by observing the visual state of the plant:
- Fresh node — Vibrant color, full cluster size, bright appearance
- Recently harvested — Wilted stalks, smaller cluster, dull color (respawn is imminent)
- Empty spot — No plant visible; node has not respawned yet
Quick Reference Table
| Reagent | Biome | Spawn Condition | Best Time to Farm | Primary Threat |
|---|---|---|---|---|
| Ironbloom | Central Canyon (Red Monolith + Eastern Ridge) | Rust-colored metallic rocks, direct sunlight | Early morning / late evening | Stone Golems (Lv. 28-30) |
| Canyon Moss | Southern Slot Canyons | Shadowed vertical walls only | Night / early morning | Giant Scorpions (Lv. 26-35) |
FAQ
Q: Can I farm Ironbloom and Canyon Moss in the same trip? Yes. The recommended farming route starts at the Red Monolith for Ironbloom, then proceeds south to the Slot Canyons for Canyon Moss. Plan your consumables for both threats before you begin.
Q: Do I need the Advanced Alchemy Sickle for T2 reagents? Yes. The basic sickle has a 20% failure rate on T2 nodes, which effectively wastes a harvest. The Advanced Alchemy Sickle guarantees a successful yield.
Q: Can I trade or sell these reagents to other players? No. Embers Adrift is a single-player experience with no player trading, no PvP, and no multiplayer co-op. Reagents can only be used for personal alchemy crafting.
Q: How long do reagent nodes take to respawn? Nodes respawn approximately 48 in-game hours (2 full in-game days) after harvesting. You can identify recently harvested nodes by their wilted appearance.
Q: What is the safest time of day to farm Grimstone Canyon? Early morning (6:00-9:00 in-game) and late evening (18:00-21:00 in-game) are the safest windows. Both Stone Golems and Giant Scorpions are less aggressive during these periods.
This guide is verified as of July 2026. Game updates may adjust mob levels, spawn rates, or node locations. Always check the latest patch notes from Red Beard Studios for the most current information.
Discussion
0 commentsNo comments yet. Be the first!