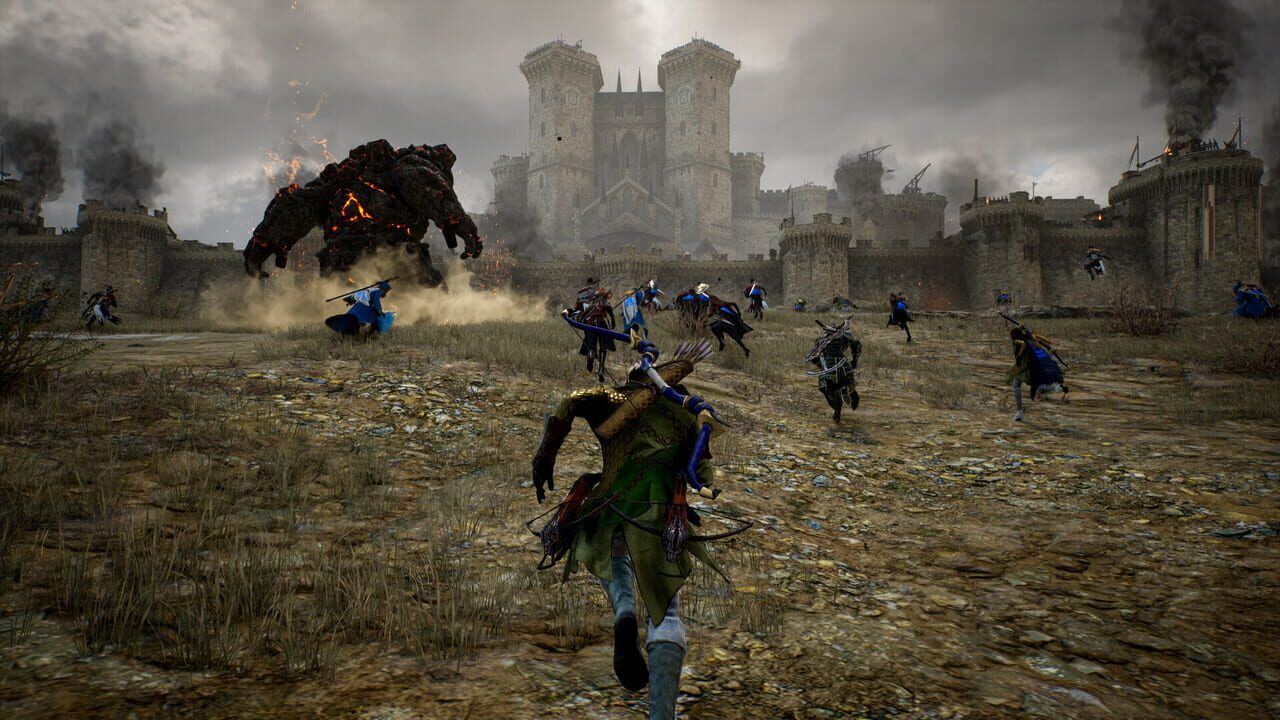
The castle siege system in Throne and Liberty pits one faction defending a fortress against an opposing faction attempting to breach its walls and capture the inner sanctum. Success depends on coordination, proper class roles, and resource management throughout each phase of the battle.
This guide covers verified siege defense mechanics as of the July 2026 patch cycle. All content reflects confirmed game systems.
How Sieges Work
Siege battles take place at designated castles on the world map. A defending guild holds the fortress while an attacking guild launches the assault. The match is divided into distinct phases:
- Pre-siege preparation: Defenders assign roles, set up consumable stockpiles, and position key players at choke points before the attack wave begins.
- Outer wall engagement: Attackers approach via bridges or siege towers. Defenders hold the ramparts and repel initial pushes.
- Breach phase: If attackers breach the outer wall, the fight moves inward toward spawn zones and objectives.
- Final objective: Attackers must capture the central throne room or equivalent objective. Defenders must protect it at all costs.
The defending side wins by preventing the objective capture until the timer expires. The attacking side wins by securing the objective.
Golem Strategy
Golems are siege-class summons available to defenders. They serve as mobile anchors at critical map positions and significantly shift the balance of any engagement.
Key Positions
- Main choke point gate: Place your strongest golem here. Bridges and narrow approach routes force attackers into tight formations, making golem area-of-effect abilities far more impactful than open-field engagements.
- Rear or flank routes: A secondary golem can patrol alternate approaches, disrupting siege towers and forcing attackers to split their forces. This delays their main push without committing your primary defensive line.
Golem Management Tips
- Prioritize golem spawns at the narrowest accessible entryway first. A single well-placed golem at a choke point is worth more than two golems in open terrain.
- Communicate golem cooldowns with your team. When a golem is unavailable, attackers often press their advantage immediately.
- Do not overextend golems deep into attacker territory. Their value lies in controlling approach angles, not chasing enemies past your walls.
Breach Response Protocol
When attackers successfully breach an outer wall, the defense must respond quickly or the momentum will shift irrevocably. Use this protocol:
- Designate a rapid-response team. This team should be equipped with mobility or recall-type items that allow instant repositioning. Their sole job is answering breaches.
- Monitor breach alerts. Chat comms or in-game war maps typically signal when a wall section falls. React within seconds, not minutes.
- Cut off the foothold. Breach teams usually spread out after entering. Concentrate fire on the first wave before they can establish perimeter positions.
- Preserve healers. Keep dedicated support players behind the front line during breach responses. A healer dying during a chaotic retreat opens the entire line.
Best Weapon Combinations for Wall Defense
Wall defense rewards range, crowd control, and survivability. The height advantage lets certain classes dominate engagement angles.
Longbow / Crossbow
The sniper role. Maximum weapon range lets you pick off siege tower operators and spellcasters before they reach the wall base. Cluster-target abilities excel against grouped attackers at choke points. Stay near the rear of the rampart to minimize exposure to return fire.
Wand
The control role. Area denial spells, slow effects, and crowd-control abilities disrupt attacker formations as they climb or push through gates. Position yourself so spells cover approach lanes rather than the wall surface itself.
Dagger
The adaptability role. Daggers excel during breach situations where attackers pour through a gap. High burst damage and camouflage-style evasion abilities let dagger users survive isolated engagements and contest enemies who have already breached. Do not use daggers for sustained wall defense—reserve them for reactive plays.
Support / Healer Class
Never leave the wall without dedicated healing coverage. Attackers will focus enemy healers first. Coordinate healer placement with your tank line so they can reposition without losing coverage.
Trait Priorities for Defenders
Trait allocation should match your role in the siege.
- Evasion and Magic Evasion: Stack these on all frontline defenders. Attacker AoE spells rain down on the ramparts. Evasion stats reduce incoming damage from unpredictable angles.
- Physical Defense: Primary stat for tanks and golem-adjacent defenders who absorb sustained melee pressure.
- Max HP: Universal priority. Siege battles are attrition fights. Extra health pools buy time for heals and prevent one-shot executions during chaos.
- Cooldown Reduction: Valuable for defenders relying on ability rotations—golem operators, crowd-control wand users, and healers benefit most.
Pre-Siege Checklist
Proper preparation separates winning defenses from collapsing ones. Complete this list before the siege timer starts.
- Confirm guild leadership has assigned roles (golem operator, wall line, breach response, healer coverage)
- Stockpile repair kits and consumables at each wall segment
- Test comms channels with all participants
- Verify golem spawn locations are clear of obstructions
- Identify alternate escape routes for healers if a wall falls
- Assign a dedicated siege strategist to monitor attacker patterns and call rotations
Common Mistakes to Avoid
- Spreading defenses too thin. Holding every wall segment equally guarantees weakness everywhere. Commit to holding the primary gate and accept controlled loss on secondary walls.
- Ignoring flank routes. Attackers will probe for weak points. If you only guard the front, a single coordinated flank push collapses your entire line.
- Committing your golem too early. A golem used at the first attacker wave may not be available during the decisive breach moment. Reserve golems for when attackers are maximally clustered.
- Neglecting healer safety. One dead healer during a breach response is catastrophic. Every frontline player should know where their nearest healer is positioned at all times.
FAQ
How do golems work in Throne and Liberty sieges?
Defenders can summon golems at designated spawn points during a castle siege. Golems function as powerful mobile units that attack enemy clusters and block approach routes. Each golem type has unique abilities, and cooldown management between spawns is critical for sustained defense.
What is the best weapon for castle wall defense?
Longbow and crossbow offer the strongest sustained wall defense due to maximum range and cluster damage. Wand is the best crowd-control option for disrupting attacker formations. Dagger is situational—best reserved for breach response rather than open wall holding.
How do I handle a wall breach in a siege?
When a wall breaches, the rapid-response team uses mobility or recall items to reach the breach point immediately. Concentrate burst damage on the first attackers entering the gap before they can spread out. Keep healers behind the frontline and maintain comms discipline during the reposition.
What traits should I prioritize for siege defense?
Evasion and Magic Evasion are top priority for all frontline roles. Max HP is essential across every class. Tanks should stack Physical Defense, while golem operators and wand users benefit from cooldown reduction to maintain ability rotations throughout long siege engagements.
Summary Table: Role Guide
| Role | Recommended Build | Key Responsibility | Position |
|---|---|---|---|
| Sniper | Longbow / Crossbow | Pick off siege tower operators and clustered enemies | Rear rampart |
| Crowd Control | Wand | Disrupt attacker formations with AoE slows and disables | Mid rampart |
| Breach Response | Dagger | Eliminate attackers who breach walls before they spread | Mobile, near weak walls |
| Healer | Support class | Keep frontline topped during sustained engagements | Behind front line |
| Golem Operator | Any class (golem-assigned) | Control choke points and delay attacker pushes | Choke point gate |
| Tank | Physical defense build | Absorb sustained melee damage at the wall | Front rampart |
Discussion
0 commentsNo comments yet. Be the first!