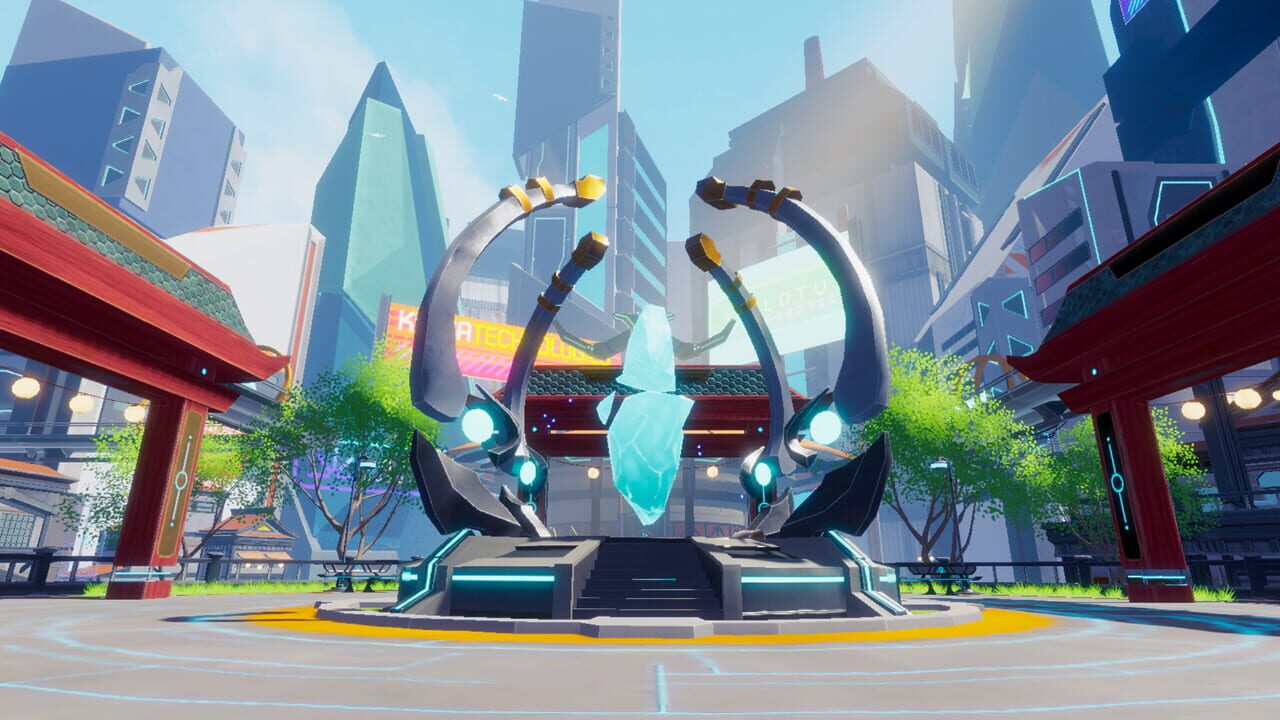
The Celestial Throne Raid in Zenith: The Last City is one of the most demanding endgame encounters in the VR MMORPG. The first boss, The Star Warden, tests your positioning, parry timing, and class coordination. This guide breaks down every verified mechanic, strategy tip, and build consideration so you can take him down efficiently.
Note: Verified as of July 2026. Check official patch notes for updates.
About Zenith: The Last City
Zenith: The Last City is a VR-native MMORPG developed by Pan Ludo that puts players inside a vast sci-fi world where they scavenge, craft, battle, and socialize in fully immersive virtual reality. The game blends traditional MMO progression systems — leveling, gear sets, skill trees — with physical VR combat, meaning your real-world movements directly control your character’s attacks, blocks, and dodges. You choose from multiple classes, each with unique abilities, and team up with others in raids, open-world zones, and player-driven social hubs. The Celestial Throne is one of the game’s flagship raid dungeons, offering some of the best loot and the most punishing combat encounters in the entire title.
Boss Mechanics: The Star Warden
The Star Warden is a heavy-hitting boss that rewards physical awareness and practiced timing. Standing still in this fight is a death sentence — you need to stay mobile and read his telegraphs carefully.
1. Comet Rain (Dodge Mechanic)
The Warden raises his staff overhead and the arena ceiling begins to glow. This signals an incoming area-of-effect projectile barrage.
- The Cue: Listen for the shimmering audio cue and look up at the ceiling immediately. Visual indicators appear moments before impact.
- The Action: Physically dodge — step to the side or duck — to avoid the falling projectiles. The hitboxes in Zenith are precise, so rely on your own eyes and body positioning rather than waiting for floating damage numbers or warning rings. Spacing matters; overlapping damage zones from multiple projectiles require constant lateral movement.
2. Star Cleave (Tank Mechanic)
This is the tank-buster ability. The Warden pulls back his weapon for a massive horizontal cleave swing aimed at your front-line defender.
- The Action: The Tank class must execute the correct blocking gesture at the exact moment of impact. In Zenith, this typically involves a raised-arm or crossed-arm gesture depending on your class’s block animation. Timing is everything — too early and the parry window passes; too late and you take massive damage.
- Consequence: Missing the block will likely one-shot an unprepared tank or inflict a stacking debuff that makes healing through the remainder of the encounter extremely difficult. Practice this block timing in lower-difficulty encounters before attempting The Star Warden on harder settings.
3. Cosmic Sweep (AOE Warning)
Before executing a wide-radius spin attack, the Warden will perform a brief wind-up animation with a distinct glow around his weapon. This sweep covers a large portion of the arena floor.
- The Action: DPS and supports should step back or circle away from the Warden during the wind-up. Bladestance classes that were positioned for close-range backstabs need to disengage and reposition to the boss’s sides or rear once the sweep completes.
- Tip: Use this animation window to reset aggro, consume health potions, or reposition ranged characters who were caught too close.
Class Roles and Build Tips
Tanks
Tanking The Star Warden demands strong parry and block timing. Prioritize armor sets that boost your block window and reduce incoming burst damage. The Essence Ward or Iron Bastion builds are solid choices depending on your server’s current meta. Key stats to stack:
- Block stamina efficiency
- Burst damage reduction
- Aggro radius
Always warm up your block timing in the game’s practice range or lower-tier content before this fight. A single missed Star Cleave block can cascade into a full raid wipe.
Blade Master (Melee DPS)
Blade Masters excel at backstab multipliers but must respect the Cosmic Sweep telegraph. Stay on the Warden’s flanks when safe, and never commit to a full rotation if the ceiling glow from Comet Rain is active — prioritize repositioning over DPS.
Recommended build focus:
- Critical hit chance on backstabs
- Mobility and dodge frames
- Sustain items for extended encounters
Essence Mage (Ranged DPS)
Essence Mages should spread out during Comet Rain to minimize overlapping damage and keep healing pressure low on the tank. Position at medium range where you can track both the boss and the ceiling indicators simultaneously.
Recommended build focus:
- Area damage for adds that may spawn
- Shield or utility cooldowns for self-preservation
- Mana or essence efficiency for longer pulls
General Fight Strategy
Success against The Star Warden comes down to three things: physical awareness, communication, and role discipline.
-
Keep your head on a swivel. Watch the ceiling for Comet Rain, watch the boss for Star Cleave wind-ups, and watch your teammate positions to avoid overlapping damage zones.
-
Communicate telegraphs. In a VR group, voice comms are essential. Call out “Comet Rain” and “Cleave coming” so everyone reacts in unison rather than individually guessing.
-
Respect the cooldowns. Do not burn all your ultimate abilities during the first phase. Save at least one major cooldown for the boss’s enrage or second-phase mechanics if your particular zone version includes them.
-
Practice on lower difficulties. If your group is new to this boss, run it on the easiest setting until everyone has their block timing and dodge patterns locked in before scaling up.
Gear and Preparation Checklist
| Category | Recommendation | Why It Matters |
|---|---|---|
| Weapon Tier | Best available for your class level | The Star Warden’s HP and damage scale; undergeared runs fail faster |
| Armor Set | Balanced defense + mobility | Pure tank gear slows dodges; pure DPS gear gets you one-shot by cleaves |
| Consumables | Health potions + status cleansers | Comet Rain can stackDOTs; cleansers prevent compounding debuffs |
| Group Composition | At least 1 dedicated tank | Star Cleave requires a proper block; no-tank attempts are unreliable |
| VR Setup | Confirmed tracking + safe play space | Physical dodging requires full room-scale or tracked movement to react in time |
Common Mistakes to Avoid
- Ignoring ceiling indicators. Many players focus entirely on the boss model and miss the Comet Rain tell. Always glance upward.
- Blocking too early on Star Cleave. The block window is tight. Waiting until the last possible frame is usually safer than committing prematurely.
- Stacking together during Comet Rain. Spread out. Overlapping position = overlapping damage = overwhelmed healers.
- Chasing DPS over positioning. A dead DPS does zero damage. Retreating from a dangerous angle and re-engaging later is almost always the better call.
Summary
Defeating The Star Warden requires genuine VR physical engagement. You need to dodge for real, block with real timing, and communicate constantly. Master the Comet Rain ceiling reads, nail the Star Cleave block window, and maintain role discipline throughout the pull. With a prepared group and clean mechanics execution, this boss falls — and the rewards are well worth the effort.
FAQ
Q: What class is best for tanking The Star Warden in Zenith?
A: The primary tank class (typically the Bastion or equivalent frontline role) is recommended. Focus on block-stamina efficiency and burst reduction stats in your build.
Q: How do I counter Comet Rain in Celestial Throne?
A: Watch the ceiling glow and listen for the shimmering audio cue, then physically step or duck out of the projectile paths. Spread from your group to avoid overlapping damage zones.
Q: What happens if I miss the Star Cleave block?
A: Missing the block typically results in a massive damage hit or a stacking debuff that makes subsequent healing far more difficult. Practice block timing beforehand to minimize this risk.
Q: Can I solo The Star Warden in Zenith?
A: No. The Star Warden is designed as a group raid encounter requiring at minimum one dedicated tank. Solo attempts are not viable with current game mechanics.
Discussion
0 commentsNo comments yet. Be the first!