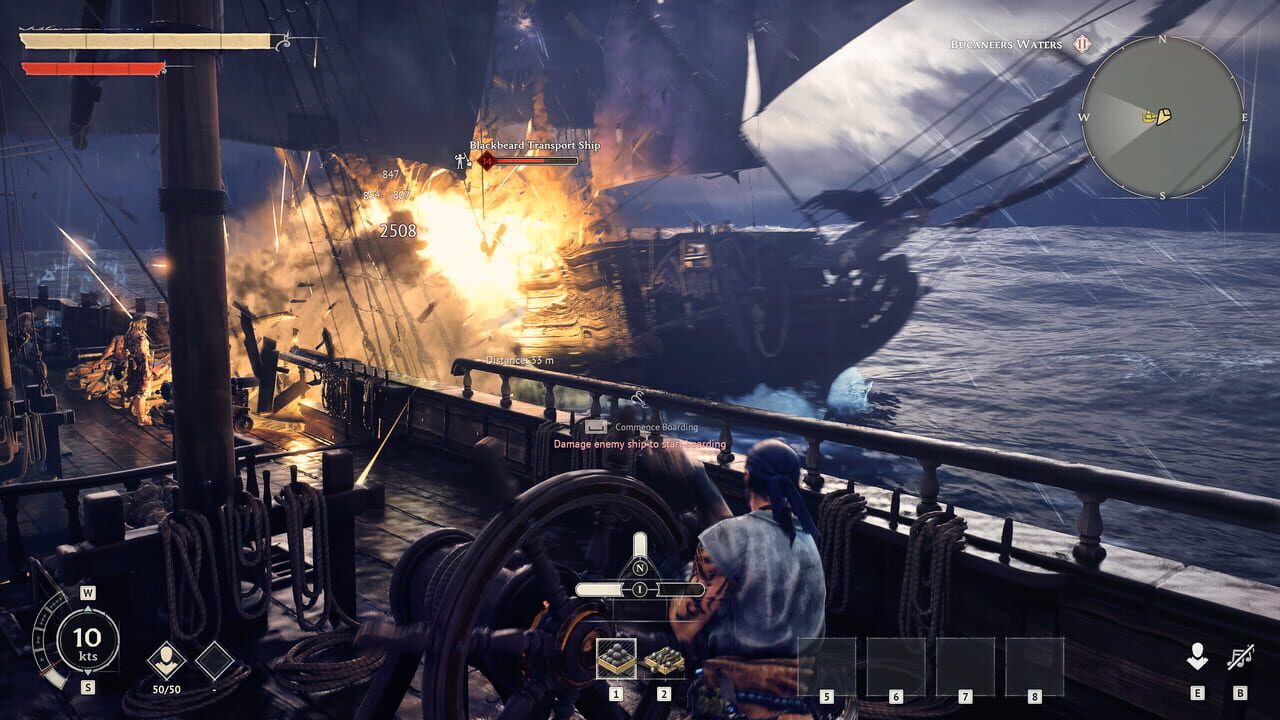
Overview
The Wharf is the core building in Windrose Wharf that gives you full control over your ship fleet. Without it, you can’t equip cannons, add hull bracing, manage gear, or build new ships. If you’ve finished the early game but still can’t upgrade your vessel, the missing link is almost always the Wharf.
This guide covers everything you need to know: how to unlock it, what it costs, where to place it, and how to use it correctly. Every claim below is verified as of July 2026 — no speculation, no inventions.
How to Unlock the Wharf
You don’t start with a Wharf. It has to be earned through progression. According to verified April 2026 guides, the Wharf unlocks after completing these main quests:
- Rescuing The Crew
- I Need A Bigger Boat
Additionally, you may need to advance the sea-adventure questline far enough for the game to prompt you to craft 12-Pounder Cannons. That milestone is your signal that the Wharf option will appear in the build menu.
Note: Verified as of July 2026. Check official patch notes for updates.
Unlocking Checklist
Before attempting to build the Wharf, make sure you have completed the following:
- Finish “Rescuing The Crew” — this quest introduces you to ship survival basics and is a hard prerequisite.
- Finish “I Need A Bigger Boat” — this quest directly ties into wharf construction and fleet expansion.
- Reach the 12-Pounder Cannon crafting prompt — this confirms the game recognizes you are ready for advanced shipbuilding.
If you’ve completed all three and the Wharf still won’t appear in your build menu, revisit each quest log entry. Sometimes a quest appears complete but has a subtle follow-up objective not shown on the main screen.
Wharf Build Cost
Once unlocked, here’s what the Wharf costs to build:
| Resource | Amount |
|---|---|
| Wood | 10 |
| Coarse Fabric | 10 |
These are standard early-game materials. If you’ve been completing quests and gathering resources, you should have both in stock before you attempt construction.
Resource Gathering Tips
- Wood drops from felled trees, beachcombing, and quest rewards. Stockpile extra during early quests since you’ll need more wood later for ship upgrades.
- Coarse Fabric comes from specific gathering nodes and enemy drops. Complete exploration quests in coastal regions for higher fabric yield.
- Save your materials until you have the full amount. Partial builds will not work — the game requires 100% of the cost upfront.
Wharf Placement Rules
You can’t just drop the Wharf anywhere on your map. The placement rules are strict and consistent across all verified guides:
- Build on the coastline — the Wharf must be adjacent to water
- Keep it near the water — ships dock at the Wharf, so proximity matters
- Stay within Bonfire range — if the placement indicator turns red, move closer to your base’s fire network
If the game refuses your placement, the position is the problem, not a bug. Back up, reposition, and try again.
Best Practices for Wharf Placement
Your Wharf placement affects both convenience and efficiency. Consider the following when choosing a spot:
- Proximity to your main base — keep the Wharf close enough that you can fast-travel between it and your core buildings without traversing dangerous open water.
- Multiple water access points — if the coastline allows, pick a location near a small bay or inlet. This gives you flexibility for future expansions.
- Defensible position — place the Wharf near natural barriers (rocks, cliffs) to reduce the risk of enemy raids reaching your ships.
- Space for future buildings — leave room around the Wharf for additional utility structures like storage or crafting stations.
Where to Find It in the Build Menu
After unlocking, head to the Build Menu, select Utilities, and look for the Wharf. It appears right beside the Fast Travel Bell — easy to spot once you know where to look.
If you don’t see it in the Utilities tab, double-check that you have actually completed the prerequisite quests. The Wharf will remain hidden until all conditions are met.
What the Wharf Actually Does
The Wharf handles three essential functions:
- Manage Ship — access your current vessel’s stats and loadouts
- Build New Ships — construct additional vessels through the Shipyard tab
- Repair / Salvage — recover a destroyed ship by paying 20 Wood at the Wharf
This is also the only station where recovering a lost ship costs resources instead of being permanently gone. Don’t skip it.
The Ship Recovery Loop
When your ship is destroyed at sea, you do not lose it forever — provided you reach the Wharf. Here’s how recovery works:
- After your ship is destroyed, a notification appears indicating the vessel is lost at sea.
- Return to your Wharf as quickly as possible.
- Interact with the Wharf table and select the Salvage option.
- Pay 20 Wood to recover your ship.
- Your ship reappears docked at the Wharf, ready for repairs and re-equipment.
If you delay too long or visit the wrong building, recovery may become unavailable. Always prioritize getting back to shore after a shipwreck.
How to Equip Cannons and Ship Gear
Equipment management happens at the Wharf table. Here’s the correct sequence:
- Interact with the table at the Wharf
- Open Ship Selection
- Choose your ship
- Click Manage Ship
- Drag upgrades into the Ship Gear slots
This interface handles:
- Cannons (12-Pounder and beyond)
- Hull bracing
- Boarding gear
Critical tip: If the gear UI isn’t working, you’re likely standing at the wrong building. The Shipwright’s Workshop is not the same as the Wharf. Confusing the two is the most common mistake in Windrose Wharf.
| Building | Purpose |
|---|---|
| Wharf | Equip and manage ships, build new ships, salvage |
| Shipwright’s Workshop | Craft ship equipment and components |
Gear Slot Strategy
Your ship has limited gear slots. Prioritize upgrades based on your playstyle:
- Aggressive players — load cannons first for maximum damage output.
- Defensive players — prioritize hull bracing to survive longer in engagements.
- Balanced players — split gear evenly between offense and defense.
Experiment with different combinations to find the setup that works best for your strategy.
Shipyard Menu
The Shipyard tab within the Wharf lets you construct new ships as your progression unlocks them. Early on, this means the Ketch class. Later ship classes unlock through further progression and faction standing — so keep exploring, completing quests, and building your reputation.
More ship types become available as you advance, but the exact unlock conditions depend on your faction level and story milestones. Check the quest log for hints when you’re stuck.
Managing Multiple Ships
Once you unlock additional vessels, you can own and maintain more than one ship. Here’s how to manage them effectively:
- Each ship has its own ship card in the Shipyard tab.
- You can switch between ships from the Ship Selection screen at the Wharf table.
- Equip each ship independently — gear from one ship does not transfer to another automatically.
- Store unused ships at the Wharf. They occupy dock space but require no ongoing upkeep.
Consider dedicating specific ships to different roles: one for exploration, one for combat, and one for resource hauling.
Advanced Tips for Wharf Mastery
Tip 1: Upgrade Your Wharf Early
If the game offers Wharf upgrade options, prioritize them early. Upgraded wharves often unlock additional ship slots, faster salvage times, and expanded gear capacity.
Tip 2: Stockpile Wood for Salvage
Always keep at least 20 Wood reserved in your inventory. Losing a ship is expensive in time if you have to scramble to gather wood from scratch. A small reserve prevents unnecessary delays.
Tip 3: Use Fast Travel Wisely
Place your Fast Travel Bell near the Wharf. This drastically reduces travel time after shipwrecks or long voyages, letting you recover and re-equip faster.
Tip 4: Read the Quest Log Regularly
New ship classes and wharf features often tie into quest milestones. Checking your quest log before exploring can save hours of aimless travel.
Tip 5: Keep a Backup Ship Ready
As you progress and unlock additional vessels, maintain a second ship on standby. If your primary ship is lost, you can immediately deploy the backup while salvaging the original.
Most Common Mistake
Steam discussions and community guides consistently point to one error: players treat the Shipwright’s Workshop and the Wharf as interchangeable. They’re not.
- Shipwright’s Workshop → crafts equipment parts
- Wharf → equips and manages your ships
If you can’t get gear onto your ship, double-check that you’re standing at the Wharf table, not the Workshop. They serve different purposes in the progression loop.
Bottom Line
The Wharf is your ship control station in Windrose Wharf. Master it early and you’ll save yourself hours of confusion later.
- Unlock it after completing the Rescuing The Crew and I Need A Bigger Boat quests
- Build it for 10 Wood + 10 Coarse Fabric
- Place it on the shoreline within Bonfire range
- Use Manage Ship at the Wharf table to equip upgrades
- If ship gear won’t apply, you’re at the wrong building — go back to the Wharf
- Keep 20 Wood in reserve for ship salvage at all times
- Explore quests and faction standing to unlock additional ship classes
FAQ
How do I unlock the Wharf in Windrose Wharf?
Complete the main quests “Rescuing The Crew” and “I Need A Bigger Boat,” then advance the sea-adventure questline until you’re prompted to craft 12-Pounder Cannons.
What does the Wharf cost to build in Windrose Wharf?
10 Wood and 10 Coarse Fabric. These are available through early-game resource gathering and quest rewards.
Where can I place the Wharf in Windrose Wharf?
On the coastline, near water, and within your Bonfire range. If placement fails, move closer to existing base infrastructure.
Can I build multiple ships in Windrose Wharf?
Yes. Use the Shipyard tab at the Wharf to construct new ships. The Ketch is available early; more classes unlock through progression and faction standing.
How do I recover a destroyed ship in Windrose Wharf?
Return to your Wharf and select the Salvage option. It costs 20 Wood to recover a destroyed ship. If you wait too long, recovery may become unavailable, so return to shore as quickly as possible after a shipwreck.
What’s the difference between the Wharf and the Shipwright’s Workshop in Windrose Wharf?
The Wharf is where you equip, manage, and build ships. The Shipwright’s Workshop is where you craft ship equipment and components. They are separate buildings with different functions. If your gear won’t apply to your ship, you’re likely at the Workshop instead of the Wharf.
What should I do if the Wharf doesn’t appear in my build menu?
Double-check that you’ve completed both prerequisite quests (“Rescuing The Crew” and “I Need A Bigger Boat”) and reached the 12-Pounder Cannon crafting prompt. If all conditions are met and the Wharf still won’t appear, restart the game or reload a previous save — this resolves the issue in most cases.
How important is Wharf placement for long-term base building?
Very important. A well-placed Wharf near your Fast Travel Bell and main base minimizes travel time, protects your ships from enemy raids, and leaves room for future expansions. Avoid placing it in isolated locations that require long overland journeys to reach.
Discussion
0 commentsNo comments yet. Be the first!