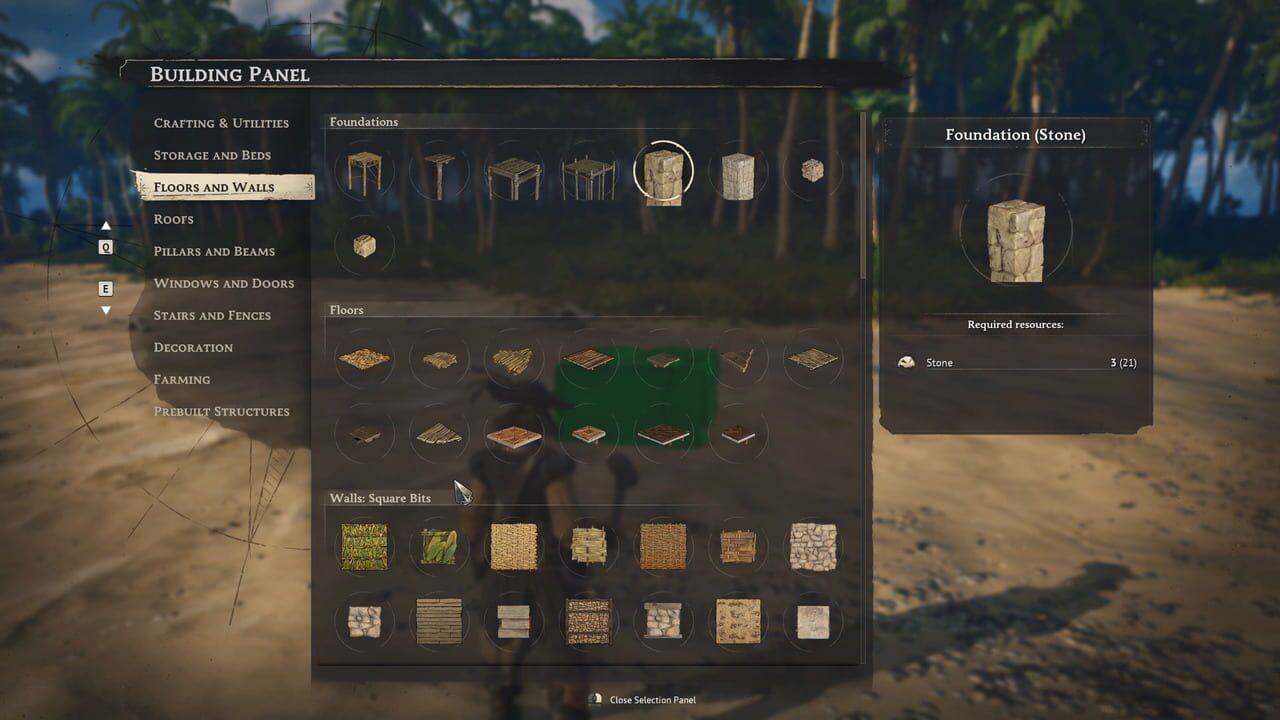
The Shovel in Windrose is one of the earliest utility tools that directly unlocks hidden loot. If you are standing over a treasure clue and nothing is happening, the problem is almost always either your crafting recipe or the way the tool is being used. This guide covers everything verified as of July 2026.
Windrose — Game Overview
Windrose is a survival-crafting adventure where players explore open terrain, gather resources, build structures, and uncover buried treasure using specialized tools. The game features a modular crafting system tied to workbenches and furnaces, an exploration-focused progression path, and multiple underground layers rich in copper, iron, and rare materials. Dig spots, quest markers, and surface clues reward careful exploration. As of July 2026, the core game includes tool-based digging mechanics, chest objectives, and quest-driven treasure hunts across its biomes.
Shovel Recipe
You craft the Shovel at a Workbench using the following materials:
| Material | Quantity |
|---|---|
| Copper Ingot | 3 |
| Wood | 10 |
Make sure your copper supply is steady before investing. If copper smelting is still a bottleneck, finish your copper ingot production first. Copper ore is typically obtained from surface deposits or shallow mining, then smelted in a furnace with fuel into copper ingots before they can be used at the Workbench.
What You Need Before You Can Craft It
Before crafting the Shovel, confirm you have:
- A Workbench placed and accessible
- 3 Copper Ingots in your inventory
- 10 Wood in your inventory
The Workbench itself is usually introduced during the early tutorial sequence in Windrose, so reaching the craft is normally a straightforward progression gate rather than a hidden unlock. Double-check your inventory to make sure the materials are present — the game will not craft the item otherwise.
How to Use the Shovel
This is the part most new players miss, and it explains why a lot of people think the Shovel does nothing.
To use the Shovel correctly:
- Equip the Shovel in your hotbar and select it
- Press X to switch from Attack mode to Dig mode
- Move around until the ground indicator appears, signaling a diggable spot
- Press the dig button while standing on the indicator
If you stay in attack mode, swinging the Shovel will only deal light damage to enemies or objects. It will not interact with buried chests or dig spots. Always verify the mode indicator before walking toward a clue.
Understanding Dig Mode Mechanics
Dig mode is distinct from every other tool state in Windrose. When you press X, your character enters a dedicated interaction stance — you will notice the Shovel icon changes appearance in your HUD, and a subtle animation shift confirms the mode toggle has registered. Many players overlook this visual feedback and assume the switch failed when it actually worked fine.
While in Dig mode, your movement speed is marginally reduced compared to Attack mode. This is intentional design to encourage careful positioning over dig spots rather than rushing through them. Do not be surprised if your character feels slightly heavier — this is normal and not a bug.
The ground indicator under Dig mode appears as a faint shimmering outline on the terrain where a buried chest or interactive dig site exists. It is visible at medium range but becomes much clearer when you are within three to four tiles of the actual spot. Walking in circles around a suspected location is often more effective than staring directly at it, since the indicator’s visibility angle shifts with your position.
What the Shovel Is For
The Shovel has three primary functions in Windrose:
- Buried Treasure — dig at glowing or marked spots to uncover buried chests
- Hidden Chest Objectives — many exploration quests require you to locate and dig up specific chests
- Quest Clues — certain quest markers point to exact dig locations on the ground
A well-known early example is the Traveler’s Camp second chest, which specifically demands a Shovel and Dig mode to access. Players who miss the mode switch often walk past the spot entirely.
Best Time to Craft It
Craft the Shovel as soon as you have spare copper after prioritizing your core progression tools like a Pickaxe and basic weapons. It is not as immediately urgent as the Pickaxe for mining, but its value rises quickly the moment you start receiving treasure clues or quest markers that point to dig sites.
Having a Shovel ready early also saves time on backtracking, since you can complete chest objectives on the spot rather than returning later with the tool.
Copper Sourcing Tips
Copper is the gating material for the Shovel, and new players sometimes struggle to gather enough ingots quickly. Here are practical approaches:
- Surface veins appear frequently in the early zones. These require no mining and can be collected by simply walking over them or using a basic tool to interact.
- Shallow mining in the first few underground layers yields denser copper concentrations. If you already have a Pickaxe, clearing a small vertical shaft in a copper-rich area is efficient.
- Smelting fuel matters more than most players realize. Make sure your furnace has a reliable fuel source — wood works, but running out mid-smelt can leave you with raw ore and no way to finish the process. Keep a small stock of fuel separate from your crafting materials.
- Consider smelting copper in bulk rather than one ingot at a time. This reduces the number of times you need to manage the furnace interface and keeps your workflow smooth.
Digging Step-by-Step: Complete Breakdown
For players who want the most thorough walkthrough possible, here is the full sequence from approach to loot:
- Spot the clue — this may come from a quest marker on your minimap, a glowing patch of earth, or an objective that tells you to find a buried chest
- Navigate to the area — the indicator may not be visible from far away; get within a moderate distance before expecting to see it
- Switch to Dig mode — press X while holding the Shovel. Confirm the HUD icon changes
- Scan the ground — walk slowly in a small pattern. The shimmering indicator becomes more distinct as you near the exact tile
- Align your character — stand directly on the indicator. There is a small margin of error, so center yourself rather than standing at the edge of the glow
- Press the dig button — hold or tap depending on your control preference. The digging animation plays, and after a brief moment the chest emerges
- Open the chest — interact with the now-surface chest to claim your loot
If step six fails, you are likely still in Attack mode or your character is offset from the center of the indicator. Backtrack to step three and re-confirm your mode.
Troubleshooting: Shovel Not Working
If you crafted the Shovel and still cannot dig, check these common issues:
- Wrong mode — you are in Attack mode instead of Dig mode; press X to switch
- No indicator visible — the dig spot may be outside your current view range; move around slowly
- Insufficient materials — verify your inventory actually contains 3 Copper Ingots and 10 Wood at the Workbench
- Wrong tool — make sure the equipped item is actually the Shovel, not a different tool
Inventory and Tool Management
The Shovel shares inventory space with your other tools, and managing your hotbar effectively is essential for smooth gameplay. Keep the Shovel on a frequently used hotbar slot alongside your Pickaxe and primary weapon. Since switching between Dig mode and Attack mode requires pressing X repeatedly during exploration, having the Shovel instantly accessible saves meaningful time across multiple digs per session.
If you find yourself frequently forgetting to switch modes, consider setting a controller remap or keybind reminder until the habit sticks. Muscle memory develops quickly once you consciously practice the X toggle before every dig site encounter.
FAQ
How do I craft the Windrose Shovel? Go to a Workbench and combine 3 Copper Ingots with 10 Wood. Make sure you have smelted the copper ore first in a Furnace with fuel.
Why can’t I dig even though I have a Shovel? You are likely still in Attack mode. Press X while holding the Shovel to switch to Dig mode. The HUD icon should change to confirm the toggle.
Where do I find copper for the Shovel? Copper appears as surface veins in early zones and in the first few underground mining layers. Use a Pickaxe for deeper deposits and smelt the ore in a Furnace with wood fuel.
What does the Shovel do in Windrose? It digs up buried treasure chests, completes hidden chest quest objectives, and uncovers items at quest-marked dig sites on the ground.
Bottom Line
The Shovel is a low-cost, high-reward tool in Windrose. Craft it early, master the Dig mode toggle, and use copper sourced from surface veins and shallow mining. Once you lock in the X-switch habit, buried treasure hunting becomes fast and reliable.
Discussion
0 commentsNo comments yet. Be the first!